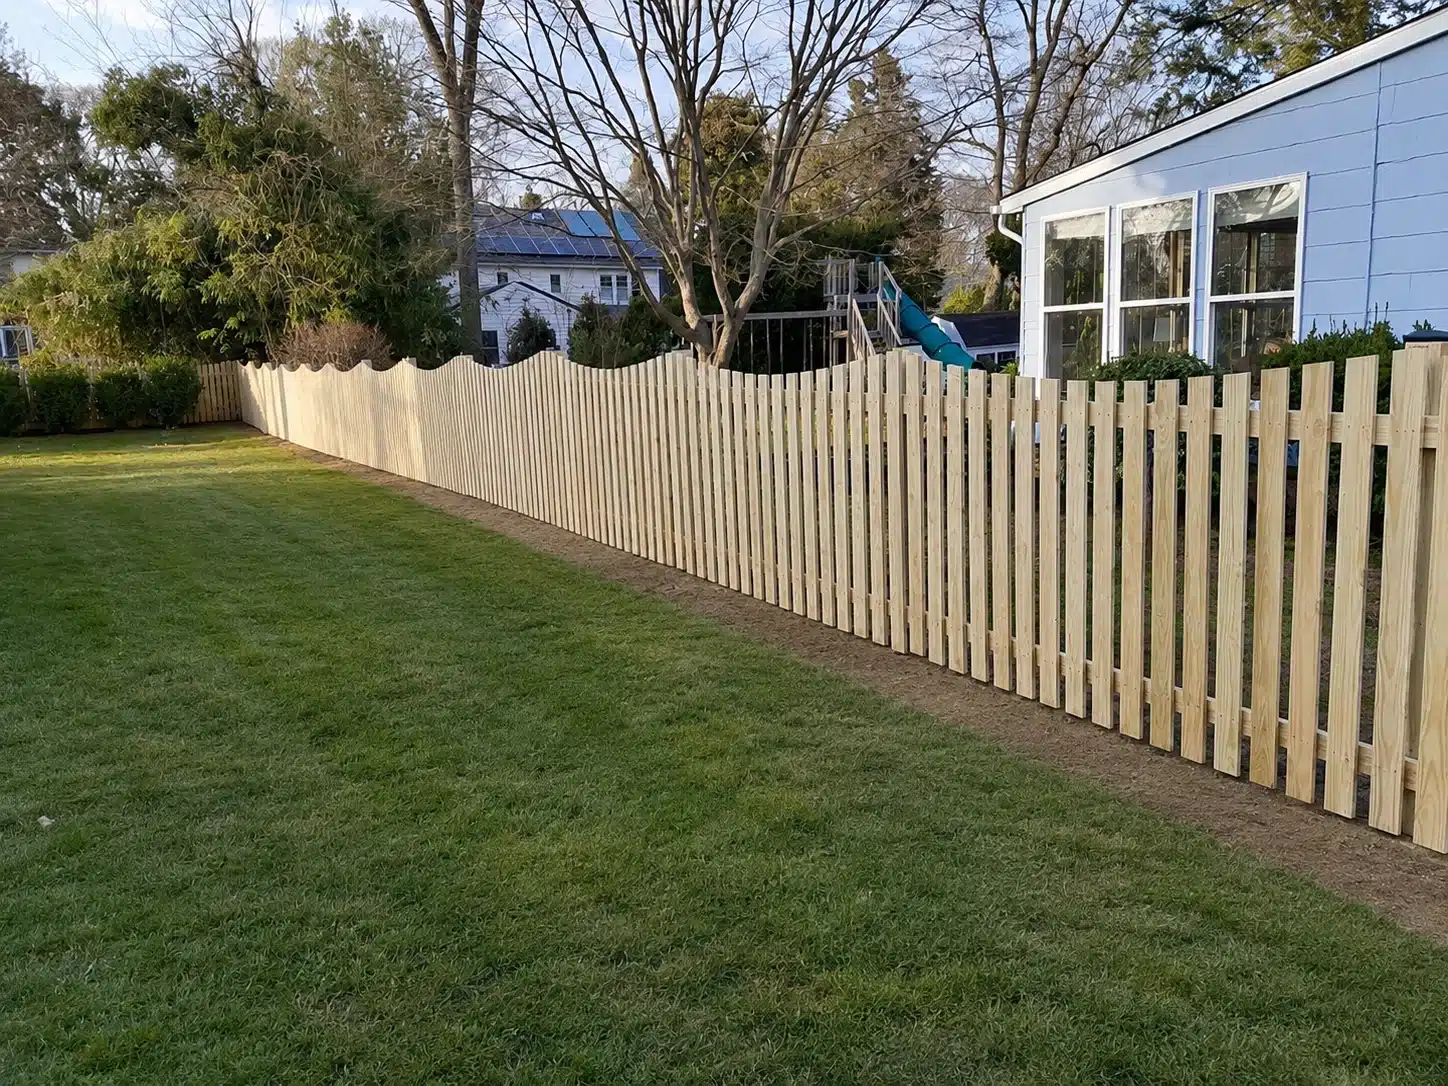
Fence pickets do more than fill the space between posts — they set the style, privacy level, and lifespan of your entire fence. Whether you’re building a new backyard privacy fence or replacing a few weathered boards, picking the right picket comes down to material, width, spacing, height, and top style.
This guide covers everything homeowners need to know to choose (or repair) fence pickets with confidence, from cedar vs. pressure-treated wood to decorative top styles, spacing standards, and simple replacement steps.
How Pressure Treating Works
When lumber is pressure treated, it’s put into a vacuum chamber with a combination of chemicals. The vacuum chamber extracts air from the space so the chemicals can penetrate deep into the wood.
Each chemical in the pressure treating process is designed to shield the wood from an outdoor element. One targets pests. Another targets bacteria. Yet another protects against fungi. They work in combination to fortify the wood so it lasts long after it’s milled.
A living tree has natural defense mechanisms, but wood fence pickets no longer have access to those nutrients. Pressure treatment provides supplemental protection against rot and deterioration.
Pine Fence Pickets Are Usually
Pressure Treated
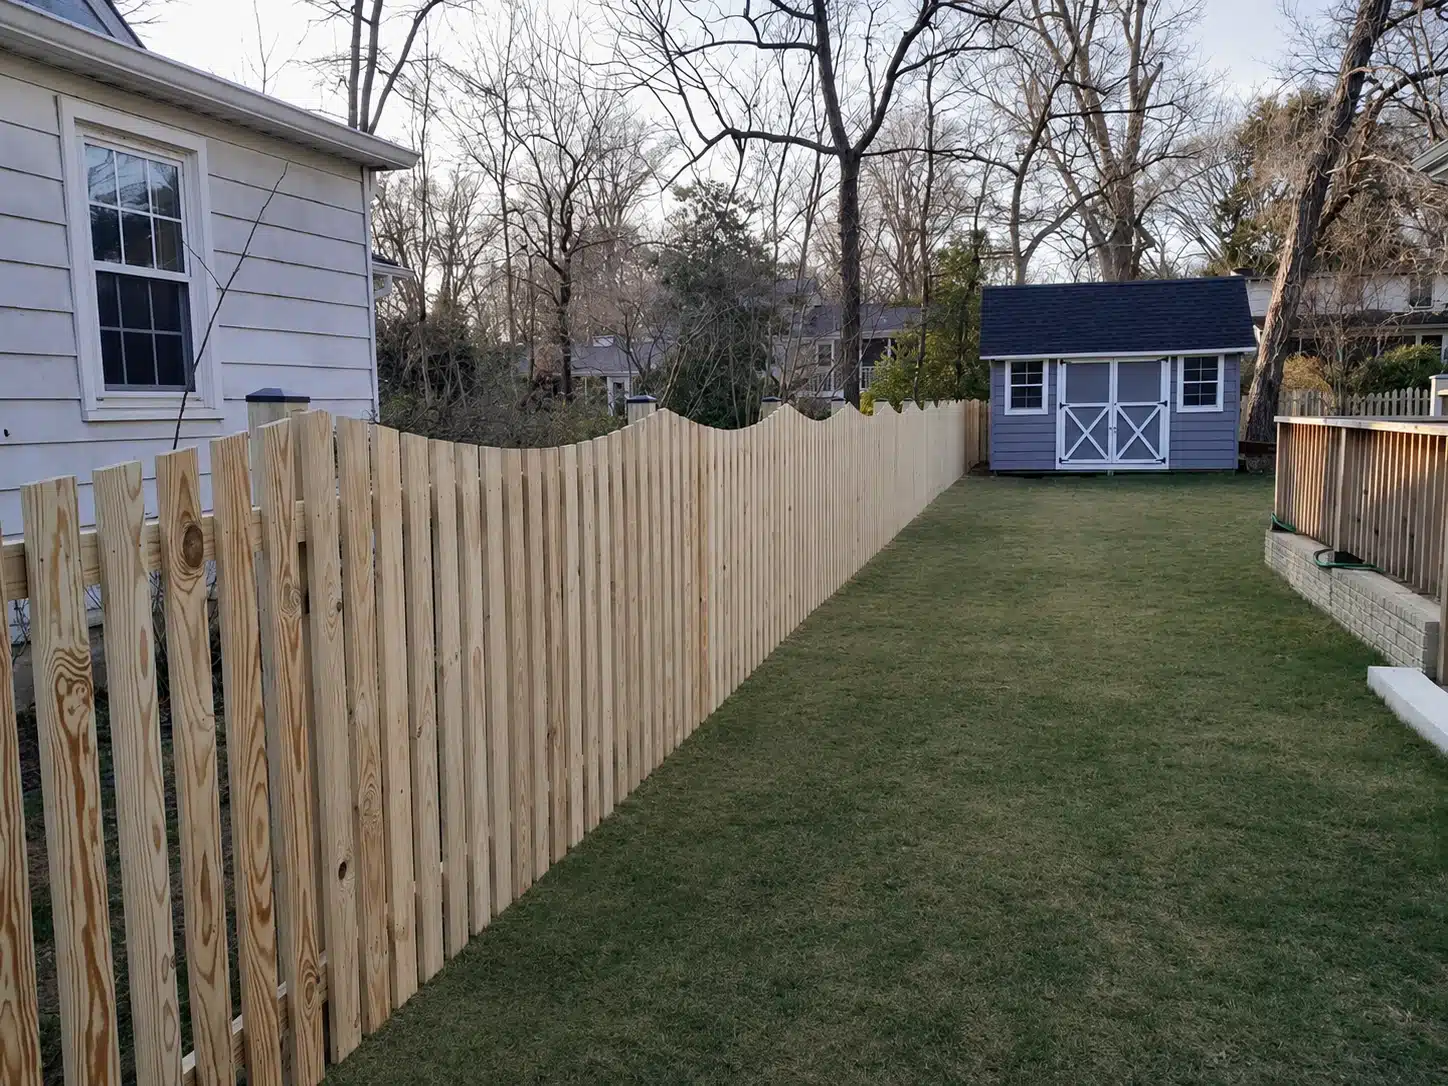
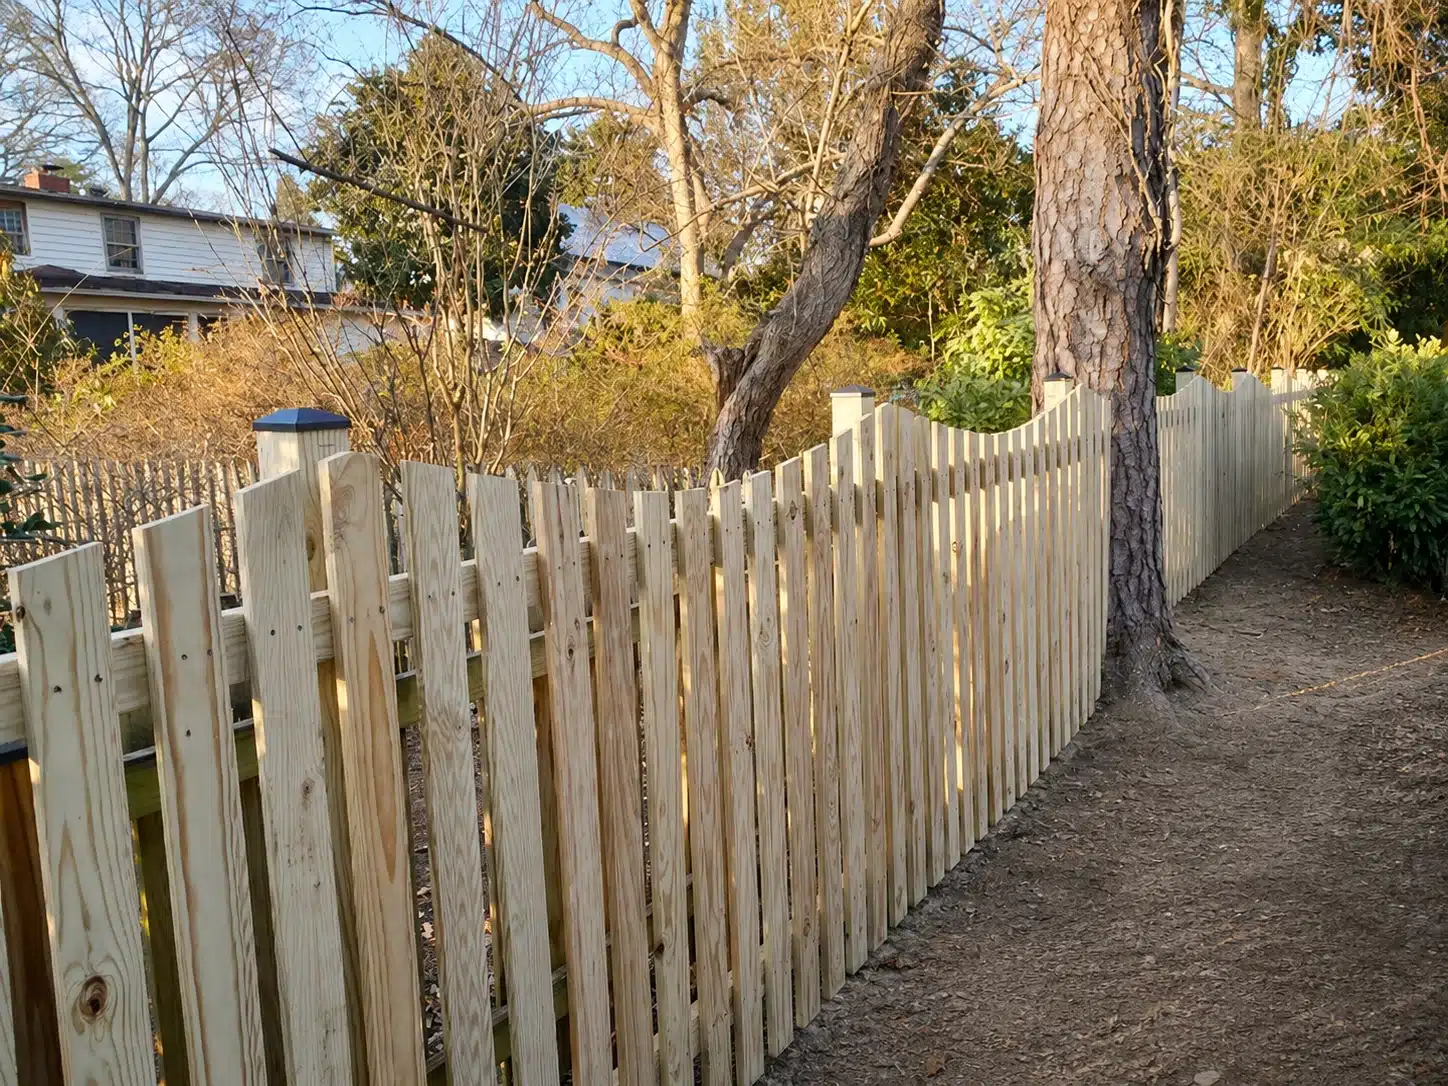
The most common pressure treated wood for fencing is pine. This is a low-cost solution that can last for decades with proper care. The chemicals from the pressure treatment process eventually fade or lose their potency. With routine staining and sealing though, you can combat this loss and re-shield the fence.
Cedar Fence Pickets Are Not Pressure Treated – Here’s Why
Cedar is naturally resistant to insects and decomposition. It doesn’t need to be pressure treated because it has its own defense system built in. Cedar still needs to be stained and sealed like other wood, but it is far more durable than pine.
With this in mind, cedar isn’t as strong as pine when it comes to soil protection. This is why many fence installers will recommend pressure treated pine or metal for the fence posts, since those are the fence elements that interact with the soil. The pickets can still be cedar since they’re installed slightly above the ground.
Other Types of Fence Pickets That Do Not Require Treatment
Wood is far from the only privacy fence material on the market. If you want something that’s going to look great and last with minimal maintenance, consider a vinyl or composite fence instead. These materials offer the same privacy as wood, but they are manufactured to last far longer with outdoor exposure.
If privacy is not a concern, you could choose an iron or chain link fence for your property. These materials do not need as much maintenance as wood, but they will not obstruct the view into your yard.
How Long Do Pressure Treated Fence Pickets Last?
Pressure treated pine fence pickets can last 15-20 years with routine maintenance. In fact, staining and sealing could add years to that projected lifespan, especially if you start early.
Whether you’re trying to protect your existing fence or looking to get a new one, All Around Fence is here to help. We offer a variety of personalized solutions to help you protect your property. Contact us at (443) 838-9374 to schedule your fence consultation.
Cedar vs. Pressure-Treated Pine Pickets: Side-by-Side Comparison
Both are popular choices for homeowners. Here’s how they compare at a glance:
| Feature | Cedar | Pressure-Treated Pine |
| Installed cost (per linear ft.) | ~$20–$45 | ~$15–$35 |
| Typical lifespan | 20–30 years | 15–20 years |
| Rot & insect resistance | Natural oils resist decay | Relies on chemical treatment |
| Maintenance | Stain/seal every 3–5 years | Stain/seal every 1–3 years |
| Appearance | Warm reddish-brown, tight grain | Tan tone that weathers to gray |
| Best for | Front yards, higher-end curb appeal | Budget-friendly privacy & security fencing |
Pricing varies by project scope, picket grade, and site conditions — contact us for a quote specific to your property.
Fence Picket Styles to Consider
Beyond material, the way pickets are arranged determines how much privacy, airflow, and curb appeal your fence delivers. These are the styles we install most often:
Privacy (Solid Picket)
Pickets are installed edge-to-edge with no gaps, creating a fully enclosed yard with no visibility from either side. This is the most common style for backyards that back up to neighbors or busy streets.
Board-on-Board
Overlapping pickets are installed on alternating rails so there are no visible gaps from either side of the fence. It offers the same full privacy as a solid picket fence with a more dimensional, upscale look — a good option when both households want a finished appearance.
Shadowbox
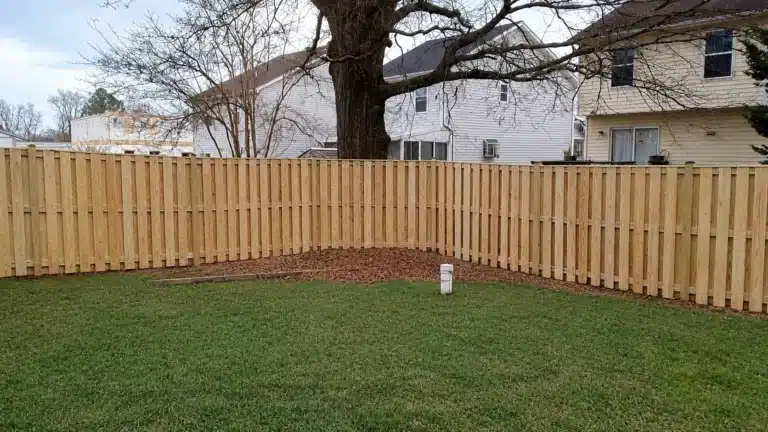
Pickets alternate between the front and back of the rails, leaving small gaps that let air and light through while still blocking direct sightlines. Because both sides look identical, it’s a popular choice between neighboring properties.
Spaced Picket
Pickets are installed with a consistent gap between each board, allowing airflow and visibility while still marking the property line. This style is common for front yards, gardens, and pool surrounds where an open feel is preferred.
Stockade with Cap
Pickets are installed tightly together and topped with a horizontal cap rail for a finished, tailored look. The cap also helps keep pickets aligned and adds a bit of extra rot protection along the top edge.
Decorative Picket Top Styles
The top edge of a picket has a bigger impact on curb appeal than most homeowners expect. Common profiles include:
| Top Style | Description | Best For |
| Dog-Ear | Flat top with two angled corner cuts | Classic look; the most popular style for privacy fences |
| Flat Top | Straight, unadorned top edge | Clean, modern aesthetic |
| Gothic | Top comes to a single point | Traditional or Victorian-style homes |
| French Gothic | Notched sides forming a fleur-de-lis point | Ornamental front-yard fences |
| Scalloped | Pickets graduate in a gentle curve between posts | Cottage-style homes, decorative front fences |
Picket Widths, Spacing & Heights
Picket dimensions affect both the look of the fence and how it’s built. Nominal sizes (like “1×6”) refer to rough-cut lumber; the actual milled size is slightly smaller.
Common Picket Widths
| Nominal Size | Actual Width | Typical Use |
| 1×3 / 1×4 | ~3.5″ | Decorative or semi-private fences with tighter, more detailed patterns |
| 1×6 | ~5.5″ | The most common width for residential privacy and picket fences |
| 1×8 | ~7.25″ | Board-on-board and wider privacy panels |
Spacing Guidelines
For spaced-picket fences, gap width typically scales with picket size:
- Narrower pickets (~4.75″ wide): roughly 2.5″ gaps
- Standard 1×6 pickets (~5.5″ wide): roughly 3″–3.5″ gaps
- Board-on-board layouts: pickets overlap by about 1″–1.25″ instead of gapping
Safety note: keep gaps under 4 inches — many local codes require this around pools specifically. Wider gaps can create a safety hazard for small children and pets.
Standard Picket Heights
| Height | Typical Use | Permit Note (Varies by Jurisdiction) |
| 3 ft. | Garden or decorative border fencing | Permit generally not required |
| 4 ft. | Front-yard picket fencing | Confirm setback rules for your lot |
| 6 ft. | Standard backyard privacy fencing | Often the threshold where a permit is required |
| 8 ft. | Maximum privacy or security applications | Permit typically required; confirm local limits before building |
Height limits, setbacks, and permit thresholds vary by city and county. For an example of how these rules work locally, see our Pasadena fence zoning guide — or check with your local building department for the rules that apply to your property.
Installation Considerations for Your
Fence Project
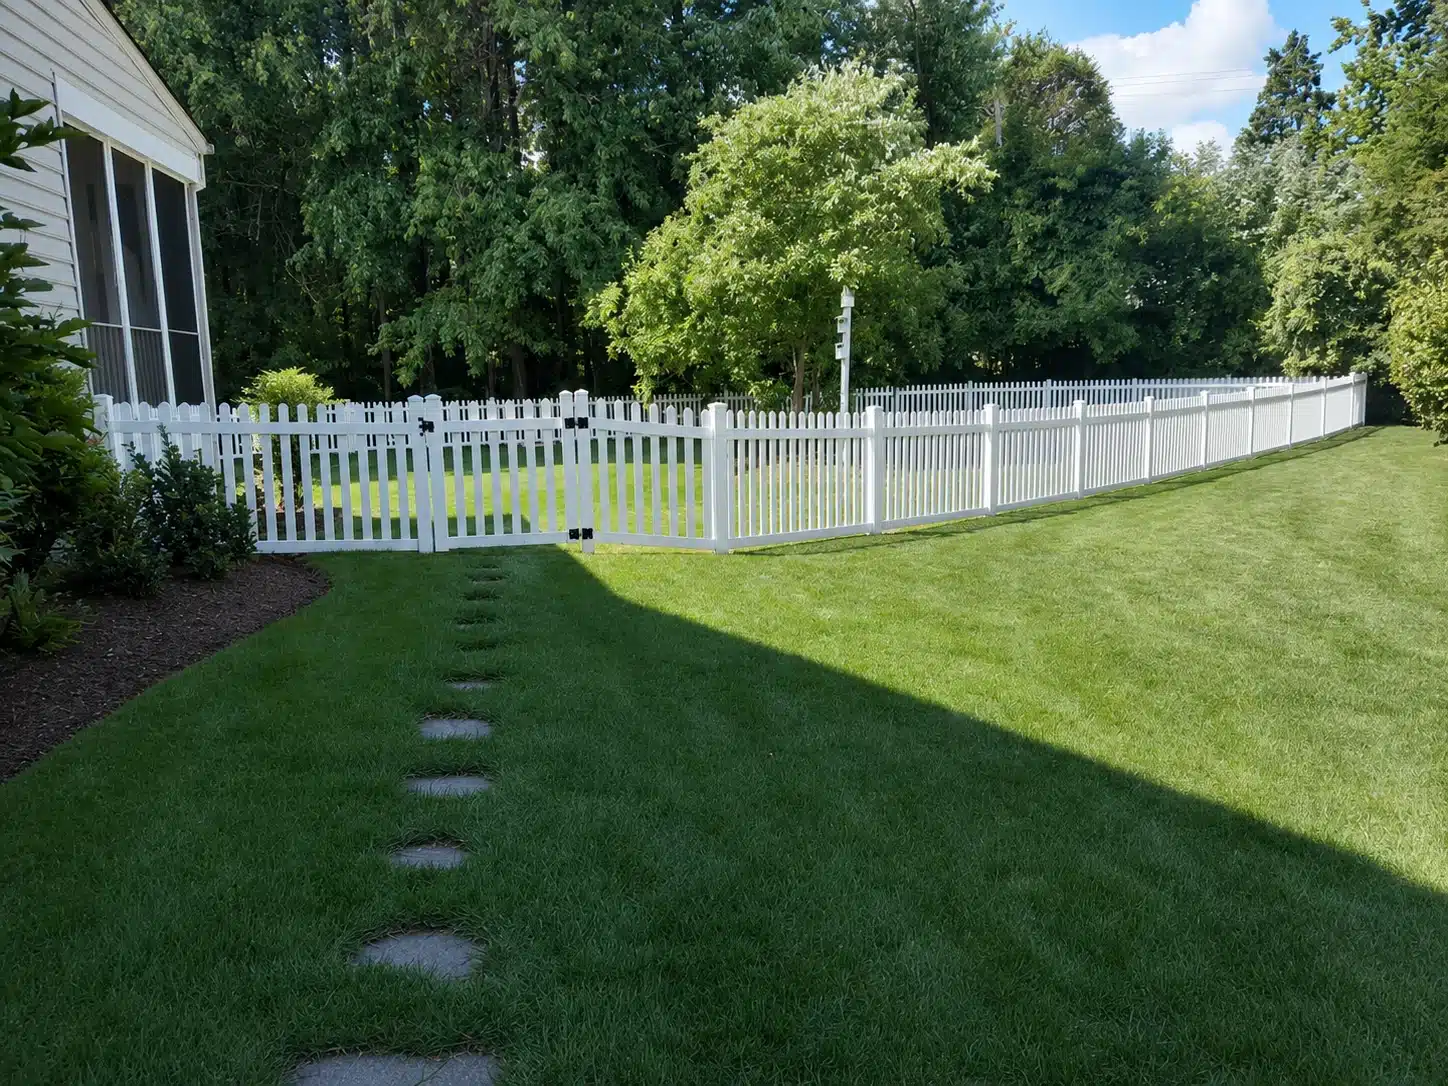
Picket selection is only part of building a fence that lasts — frost depth, permitting, and site conditions all affect the finished result, and they vary depending on where you’re located. A few factors worth planning around no matter your service area:
- Post depth: posts are typically set 36–42 inches deep, below the local frost line, for long-term stability.
- Permits: many residential fences over 6 feet require a local permit; fees and processing times vary by city and county, so check with your building department early in the process.
- HOA approval: many neighborhoods and HOAs require sign-off on fence style, height, and material before installation begins.
- Utility locates: call your local one-call utility marking service (Miss Utility in Maryland) before any post holes are dug.
- Wind exposure: fences in open or high-wind areas hold up better with tighter picket spacing and extra fasteners at each rail.
Not sure what applies to your property? Request a free on-site estimate and we’ll walk through permits, HOA requirements, and picket options together.
How to Replace a Damaged Fence Picket
A cracked or missing picket doesn’t always mean the whole fence needs to be replaced. In many cases, swapping out individual boards is a straightforward fix:
- Remove the damaged picket. Pull nails or back out screws with a pry bar or drill so the rails aren’t damaged.
- Clean up the rail. Scrape away splinters or old fasteners so the new picket sits flush.
- Measure and cut. Match the height and width of the surrounding pickets, and check the gap on each side so the new board is centered.
- Fasten the new picket. Use galvanized or coated screws/nails to prevent rust streaks and corrosion.
- Stain to match (optional). If the rest of the fence has weathered, staining the new picket helps it blend in.
If several pickets are damaged, posts are leaning, or rot has spread into the rails, it’s usually more cost-effective to have a professional assess the fence rather than replace boards one at a time. Our repair and restoration services cover everything from single-picket swaps to full section rebuilds.
Fence Picket Maintenance Tips
- Let it dry first: wait 6–12 months after installation before staining or sealing new pressure-treated pickets so the wood has time to dry out.
- Re-stain on a schedule: plan on restaining every 1–3 years for pine and every 3–5 years for cedar, depending on sun and moisture exposure.
- Inspect annually: check for loose fasteners, warped boards, or shifted panels each spring, especially after freeze-thaw cycles.
- Clean gently: use low-pressure washing rather than a high-pressure setting, which can gouge softwood pickets and strip protective finishes.
- Watch the grade: keep soil, mulch, and plantings from piling up against pickets, which traps moisture against the wood.
Real Fence Picket Projects
A few recent installations show these picket styles in place. Suggested photos for this section (pull directly from the media library; captions reflect each project’s actual location):
| Suggested Photo | Source | Suggested Alt Text |
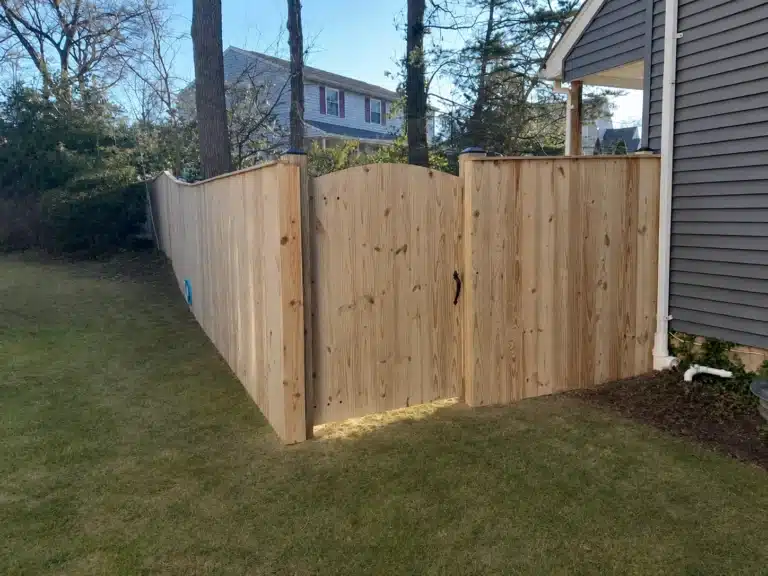
| Dog-ear pressure-treated privacy picket fence | Wood Fencing service page gallery | Dog-ear pressure-treated wood privacy fence installed beside a driveway in Pasadena, MD |
| Scalloped spaced-picket fence | Wood Fencing service page gallery | Pressure-treated scalloped spaced picket fence in a Pasadena, MD side yard |
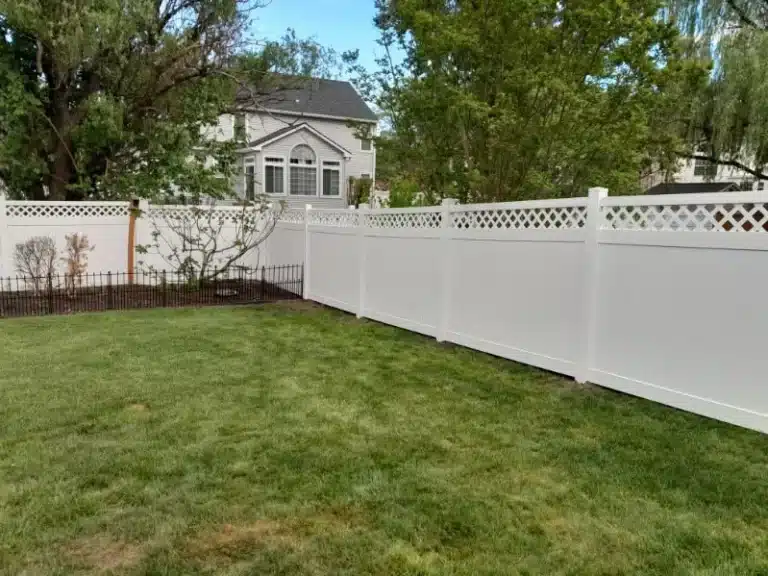
| Shadowbox fence with lattice top | Wood Fencing service page gallery | Pressure-treated shadowbox fence with decorative lattice top in Pasadena, MD |
| Stockade fence with cap | Wood Fencing service page gallery | Pressure-treated stockade privacy fence with finished cap in a Pasadena, MD backyard |
| Cedar privacy fence | Project gallery / Glen Burnie case study | Cedar privacy fence installation in Glen Burnie, MD |
See more finished examples in our project gallery and recent case studies.
Choosing the Right Fence Picket for
Your Property
Whether you’re protecting your existing fence or planning a new one, the right picket comes down to your budget, maintenance tolerance, and the look you want for your property. All Around Fence has been building and repairing wood fences throughout Maryland since 2000, and we’re happy to walk through material, style, and picket options with you on-site.
Contact us at (443) 838-9374 to schedule your fence consultation.