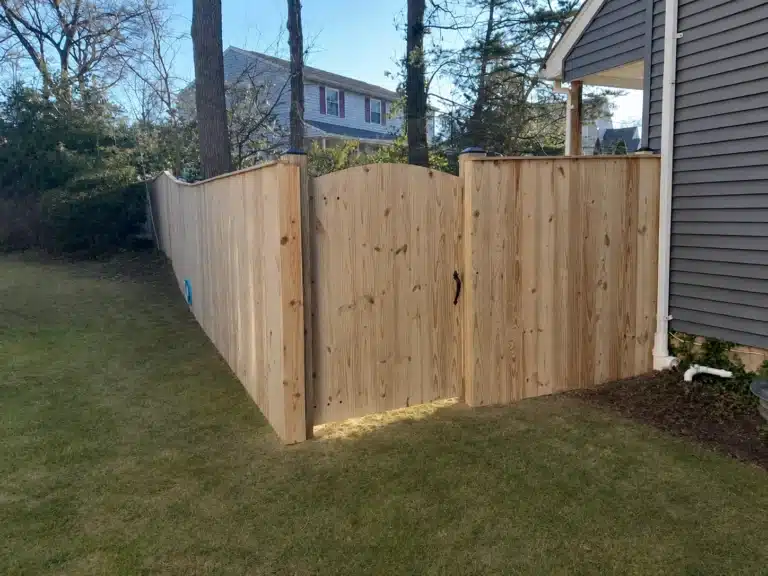
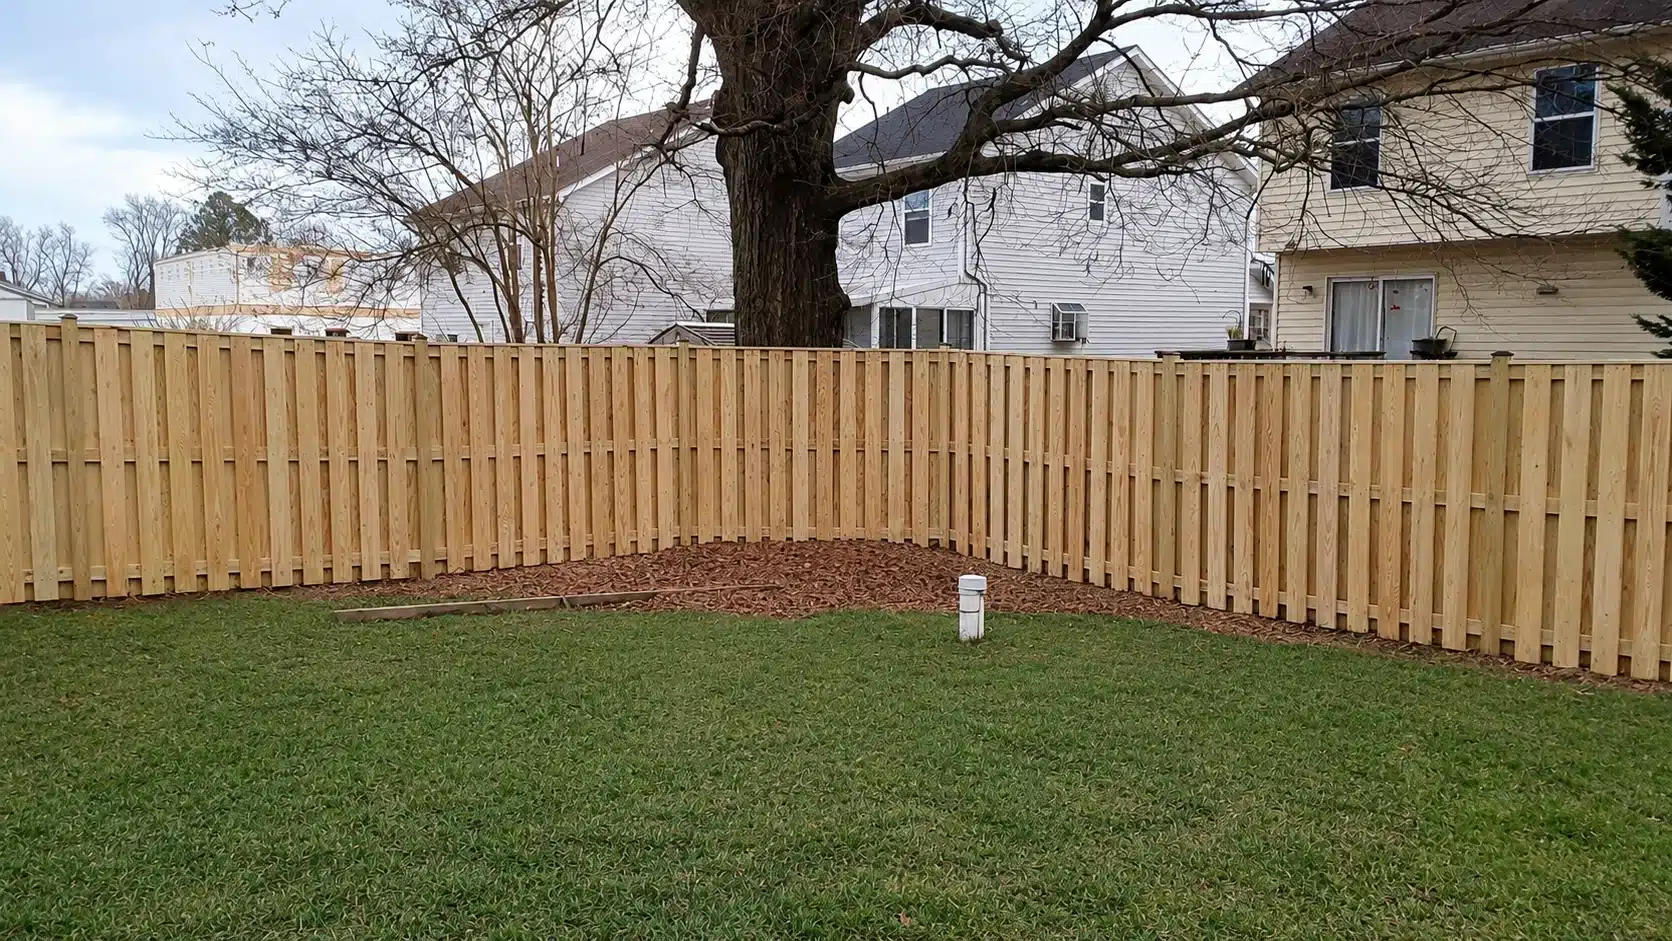
Staining a wood fence protects it from sun and moisture damage while bringing back its color — but getting it right depends on a handful of decisions most guides skip over: what your fence is made of, when the wood is actually ready, which stain type fits your wood, and how often you’ll need to redo it.
This guide walks through it all, from prep to a realistic maintenance schedule, so your stain job lasts instead of peeling in a season.
Cedar vs. Pressure-Treated: How Your Wood Affects Staining
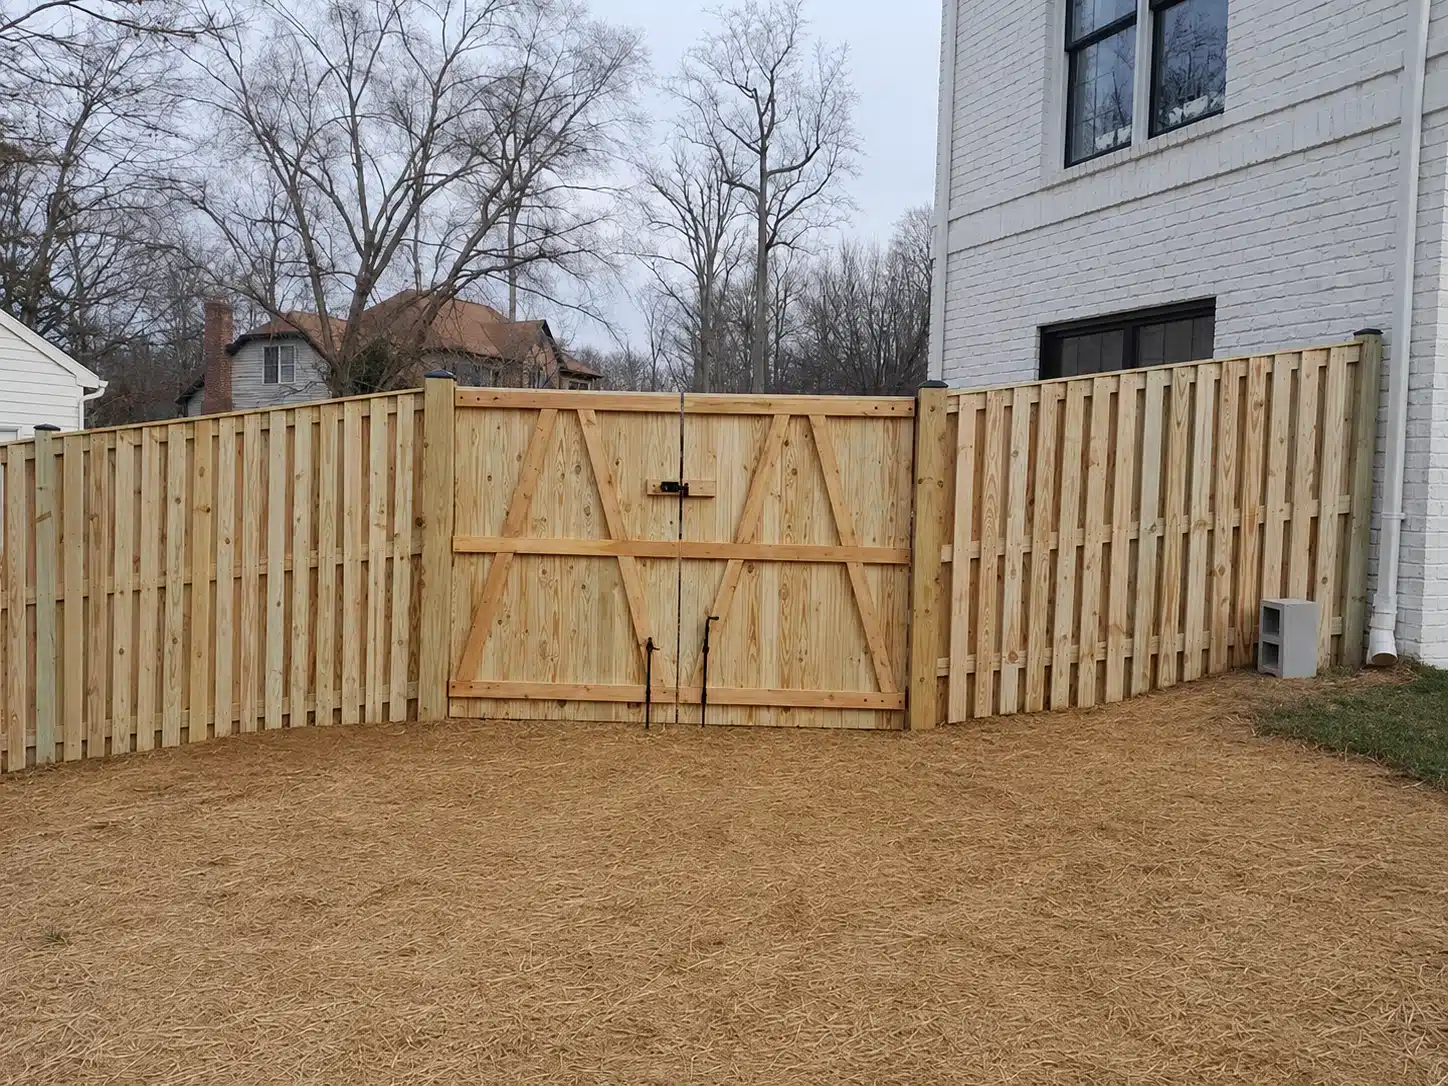
Before you pick a stain or a weekend to do the work, know what your fence is actually made of — it changes almost every decision after this.
Why Cedar Takes Stain Easily
Cedar has natural oils and an open grain that absorb stain readily, which is part of why it’s a popular choice for wood fencing in the first place. A new cedar fence typically doesn’t need to season nearly as long before it’s ready for its first coat, and cedar tends to hold color well between staining cycles.
Why Pressure-Treated Wood Needs Time to Cure First
Pressure-treated lumber is injected with preservative chemicals during manufacturing, and those chemicals hold moisture that has to fully release before stain will bond properly. Staining pressure-treated wood too early is one of the most common reasons a stain job fails within months — the surface looks fine on application day, then peels or blotches once the wood finishes drying out underneath it. If you’re not sure how long your pressure-treated fence has been up, the dryness test below will tell you more than a calendar will.
How to Prepare a Wood Fence
Before Staining
Prep work is the difference between a stain that lasts years and one that starts flaking within a season. It’s also the step people skip when they’re in a hurry — don’t.
Strip the Old Finish
Remove whatever finish is currently on the wood so the new stain has a clean surface to grip. Most wood fences can be power washed, but older or weathered fences may not hold up to the pressure — check a small, low-visibility section first. If power washing feels risky, a wood fence cleaning solution that rinses off with a garden hose is a gentler alternative, or you can scrub in a cleaner designed to strip the old finish. Sanding is another option, but go carefully: over-sanding removes wood along with the old finish and can leave you needing repairs instead of just a fresh coat.
Repair Panels and Posts Before You Stain
Fix any broken, missing, or damaged boards before you stain — not after. Stain sits and cures unevenly over damaged wood, and you’ll end up doing the repair anyway, just with fresh stain in the way. Small fixes are workable with nails, screws, or wood glue; if a post is rotted, leaning, or a panel needs replacing, that’s worth a call to a fence contractor before you start.
Confirm the Wood Is Actually Dry
Your fence needs to be completely dry before stain goes on — trapped moisture underneath a coat of stain causes warping, cracking, and premature peeling. Plan on 24–48 hours of dry weather after washing (longer after rain) before you stain, and check the forecast for a few dry days afterward too, since stain needs time to cure without rain interference.
Quick dryness test: drop a little water onto a fence board. If it soaks in right away, the wood is dry enough to stain. If it beads up or rolls off, give it more time.
When to Stain Your Fence (Quick Answer)
New wood — especially pressure-treated — needs to season before it will hold stain, and older fences need to be fully dry after cleaning. As a general rule, spring and fall tend to offer the mildest, driest stretches for staining, and you want daytime temperatures roughly in the 50–90°F range so the stain cures evenly instead of drying too fast or too slow.
Timing has enough nuance — new-fence wait times, the dryness test in detail, what to do with an older, greyed-out fence — that we’ve covered it separately. See When Is the Best Time to Stain a Fence? for the full breakdown.
Choosing the Right Wood Fence Stain
Oil-Based vs. Water-Based
Oil-based stains penetrate deeper into the wood grain and are a common choice for fences because of how well they hold up outdoors. Water-based stains dry faster and clean up easier, and modern formulations have closed much of the performance gap — but oil-based remains the more traditional pick for fencing specifically.
Semi-Transparent, Solid, and Toner
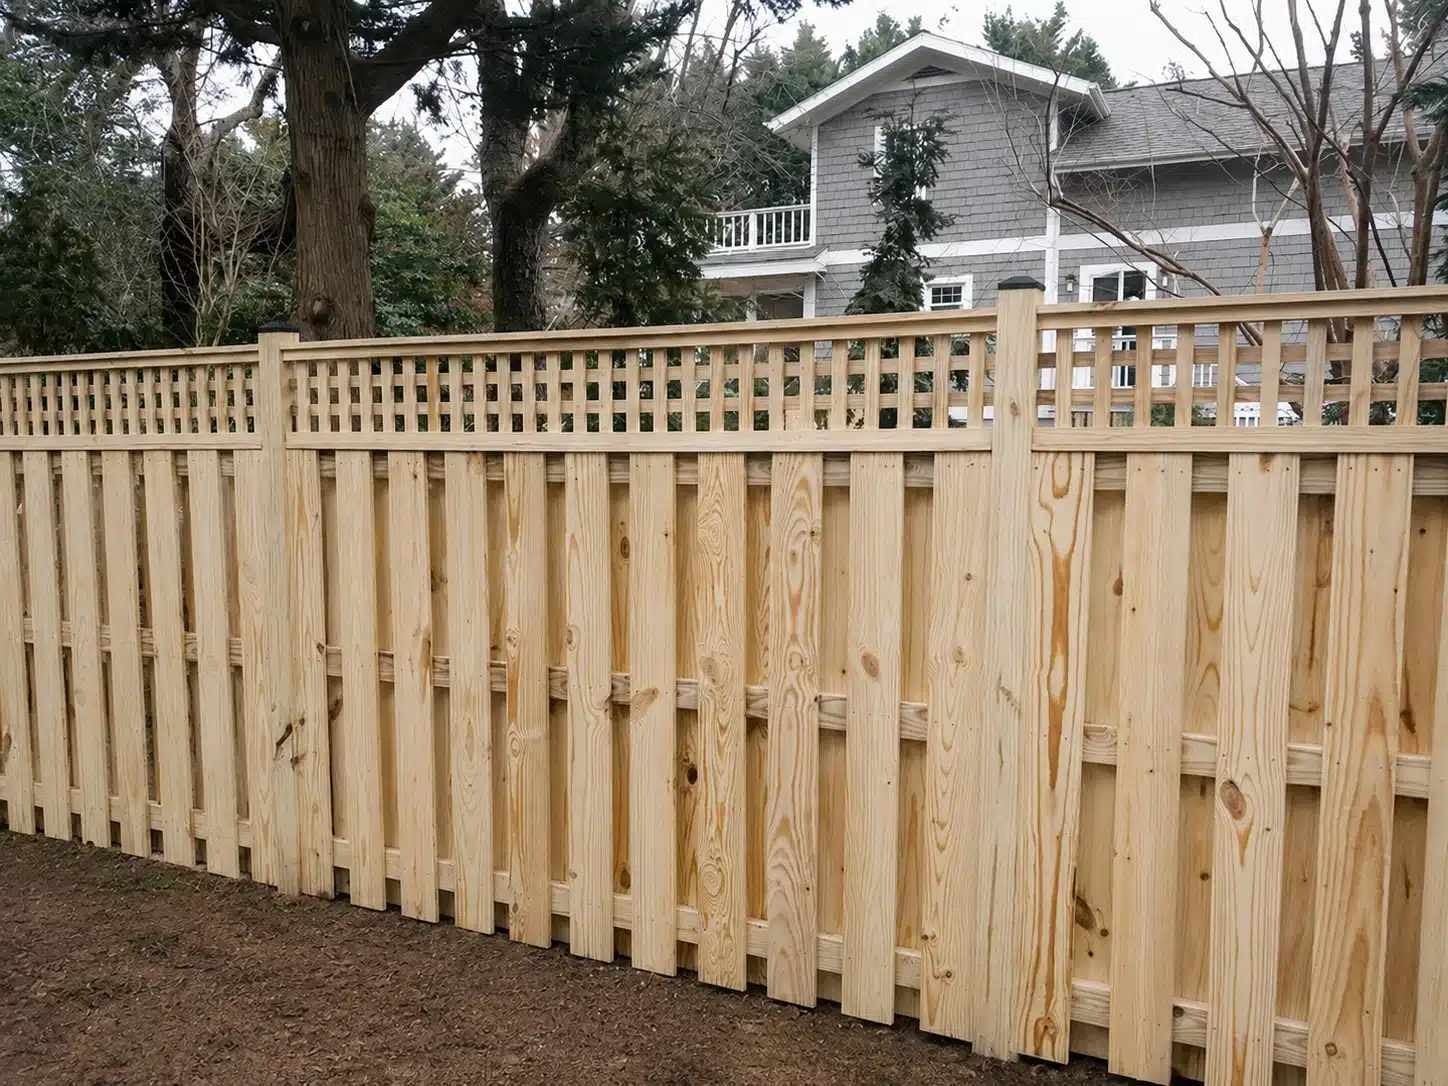
For most fences, we recommend an exterior semi-transparent stain — it enhances the wood’s natural grain and color while still protecting against moisture, and it hides minor wear better than a fully clear finish without covering the wood grain entirely the way a solid stain does. Solid stains cover more heavily and are a better fit for weathered or patchy wood where you’re less concerned about showing off the grain. Toners sit in between, adding a light tint while keeping the wood’s texture visible.
What to Check on the Label
Whatever type you choose, look for a stain with UV inhibitors. Sun exposure fades color and breaks down wood fibers over time, and UV protection slows that process. This matters more in a climate like Maryland’s, where fences see both full summer sun and a fair amount of seasonal moisture — a stain without UV protection will visibly fade faster here than the can’s marketing photos suggest.
Test the Color Before You Commit
If you have a leftover fence board from installation, test your stain choice on it — that’s the most accurate preview you’ll get. No spare board? Look for the stain sample on a cedar swatch at the store; cedar is the wood most samples are shown on, and it’ll give you a reasonable read on color even if your fence is a different species.
How to Apply Wood Fence Stain
(Step-by-Step)
- Use a paint roller with a medium nap to apply stain, working top to bottom and following the wood grain.
- Work in manageable sections — about three feet at a time — coating each section fully before moving to the next. This keeps you from getting inconsistent overlap (“lap marks”) between sections.
- Once a section is rolled on, go back over it with a brush to work the stain into the grain, especially into corners, joints, and any spot the roller couldn’t reach cleanly.
- Avoid staining in direct, hot sun — it dries the surface too fast and can leave the stain sitting on top of the wood instead of soaking in. An overcast day, or working in shade as it moves across the fence line, gives the stain more time to absorb evenly.
- Let the stain cure fully before judging the result or exposing it to rain — check the product label for cure time, since it varies by formula.
How Much Does It Cost to Stain a
Wood Fence?
Costs vary based on your fence’s size, height, and condition, plus whether you DIY or hire it out — but as a general reference point:
- DIY materials typically run in the range of $1–$2 per square foot of fence surface.
- Professional labor (including prep, stripping/sanding old finish, and application) typically runs $3–$5 per square foot, or roughly $50–$110 per hour.
- By fence style, picket fences tend to run less per linear foot than privacy fences, since privacy fencing has more surface area to cover per foot of fence line.
These are general industry ranges, not a quote — the real number depends on your fence’s condition, height, and how much repair work is needed before staining starts. Request a free estimate for an actual number on your fence.
Wood Fence Staining
Maintenance Schedule
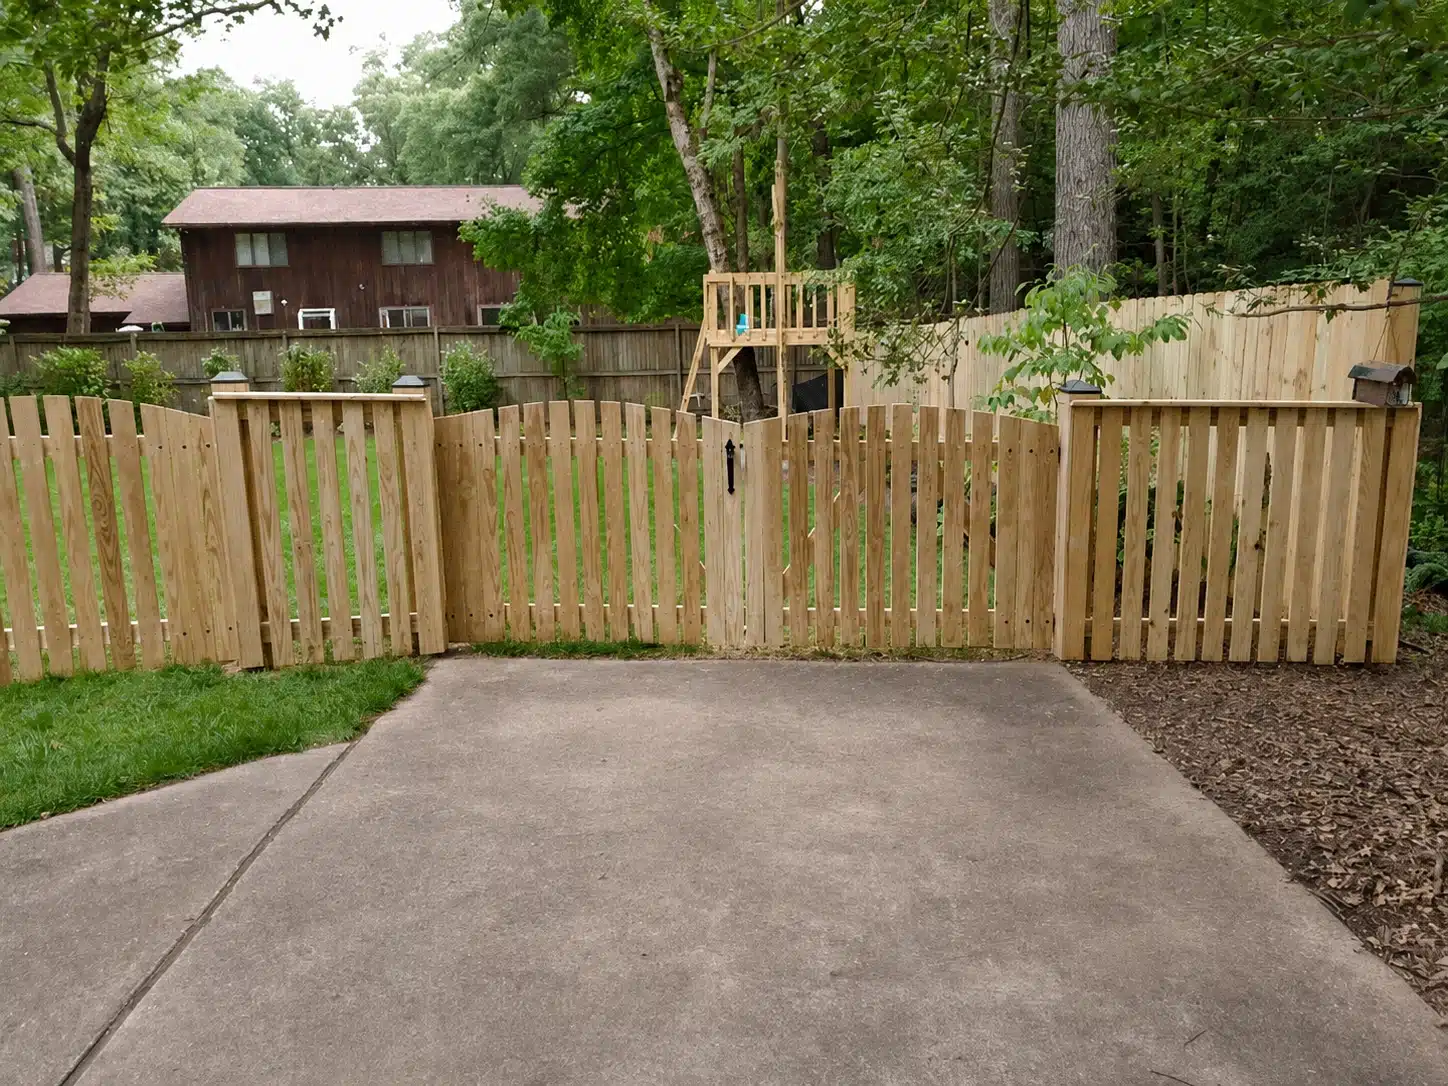
How often you need to restain depends on the wood:
- Cedar fences generally hold a quality stain or sealant for about 3–5 years before it needs to be redone.
- Pressure-treated fences typically need restaining more often — roughly every 2–3 years — since the wood is more porous to moisture once the factory treatment starts to break down.
- Coastal and humid conditions accelerate both timelines. If your fence gets heavy rain exposure or full sun most of the day, lean toward the shorter end of these ranges.
Not sure if it’s time yet? Run the same water-bead test from the prep section on an unstained-looking board — if water soaks in fast instead of beading, the old protective layer is worn out, and it’s time to restain.
Common Wood Fence Staining Mistakes
to Avoid
- Skipping cleaning. Stain applied over dirt, mildew, or old finish residue won’t bond properly and tends to peel within weeks, not years.
- Power washing too aggressively. Too much pressure tears wood fibers, which then can’t absorb stain evenly — turning a cleaning step into a repair problem.
- Staining too soon after installation, especially on pressure-treated wood that hasn’t finished curing.
- Staining in direct, hot sun, which dries the surface before the stain can soak in and often leaves lap marks or splotching.
- Staining over wet or damp wood, which traps moisture and leads to warping, cracking, or the stain lifting off entirely.
- Thinning the stain with water or solvent to “stretch” it. Manufacturers formulate stains at a specific ratio for coverage and durability — diluting it weakens both.
- Skipping a test patch. Stain can look different on your specific wood than it does on the sample card or store swatch.
FAQ
Can I stain a fence right after it rains?
No. Give the wood at least 24–48 hours of dry weather after rain (longer for a heavier storm) before staining, and check that the wood passes the dryness test first.
How long does fence stain actually last?
Roughly 3–5 years on cedar and 2–3 years on pressure-treated wood under normal conditions, though heavy sun or rain exposure can shorten that.
Can I change the color of my stain later?
Going darker is usually straightforward on your next staining cycle. Going lighter typically requires stripping the existing stain first, since a lighter stain won’t fully cover a darker one underneath.
Do I need to stain both sides of the fence?
Ideally, yes — the side that gets more direct sun or rain will wear faster than the sheltered side, and staining only one face leaves the other unprotected.
Should I DIY this or hire it out?
DIY works fine for a fence in good condition with straightforward prep. If your fence has repairs needed, heavy old finish to strip, or you’d rather not spend a weekend on it, a fence contractor can handle prep, repair, and staining in one visit.
Get Professional Help With Your
Wood Fence
Whether your fence needs repairs before it’s stain-ready, or you’d rather skip the prep work altogether, All Around Fence handles wood fence installation, repair, and staining across Anne Arundel County. Request a free estimate or browse our wood fencing options to get started.